Electricity is one of several power sources that can operate an air conditioner or furnace.In an AC unit, when a component like a motor fails, it is often because a smaller electrical component has failed, such as a malfunctioning contactor. This guide will walk you through everything, step-by-step. We'll cover what a contactor does, the tools you'll need, and exactly how to use a multimeter to diagnose the problem.
What Does An AC Contactor Do?
Think of an AC contactor as a heavy-duty, remote-controlled switch. Its main job is to use a small amount of electrical voltage to control a much larger flow of voltage to a powerful device.
Imagine trying to turn on a massive industrial motor with a regular light switch. The high current would instantly melt the switch. A contactor solves this problem. A low-voltage signal (like 24V or 120V) energizes an internal electromagnet, which then physically closes a set of large contacts, allowing high-voltage power (like 240V or 480V) to flow to the motor.
You'll find AC contactors in a wide range of applications, including:
● HVAC Systems: Controlling compressors and fans.
● Industrial Motors: Starting and stopping machinery on production lines.
● Lighting Systems: Managing large banks of commercial or stadium lights.
● Pumps and Conveyors: Powering essential industrial equipment.
Essentially, anywhere you need to safely and repeatedly switch a high-power load, a contactor is likely doing the work.
Understanding Contactor Components
Before we can test a contactor, it’s important to know its basic parts.A typical AC contactor has four key components.
1.The Coil: This is the "brain" of the contactor. When a low-voltage control signal is applied to the coil terminals (usually labeled A1 and A2), it creates a magnetic field. This is the force that activates the switch.
2.The Main Contacts: These are the "muscles." They are the heavy-duty metal points that the high-voltage power flows through. Most contactors are "Normally Open" (NO), meaning the contacts are separated and no power flows when the coil is off.
3.The Armature: This is the moving part inside the contactor. When the coil is energized, its magnetic field pulls the armature, forcing the main contacts to touch and complete the circuit. You can often see this part move when the contactor turns on.
4.The Housing: This is the protective plastic or composite case that encloses all the internal parts, keeping them safe from dust, debris, and accidental contact.
Tools and Equipment Needed
You don’t need a full workshop to test an electrical contactor, but having the right tools is essential for safety and accuracy. Here’s a short list of what I recommend you have on hand.
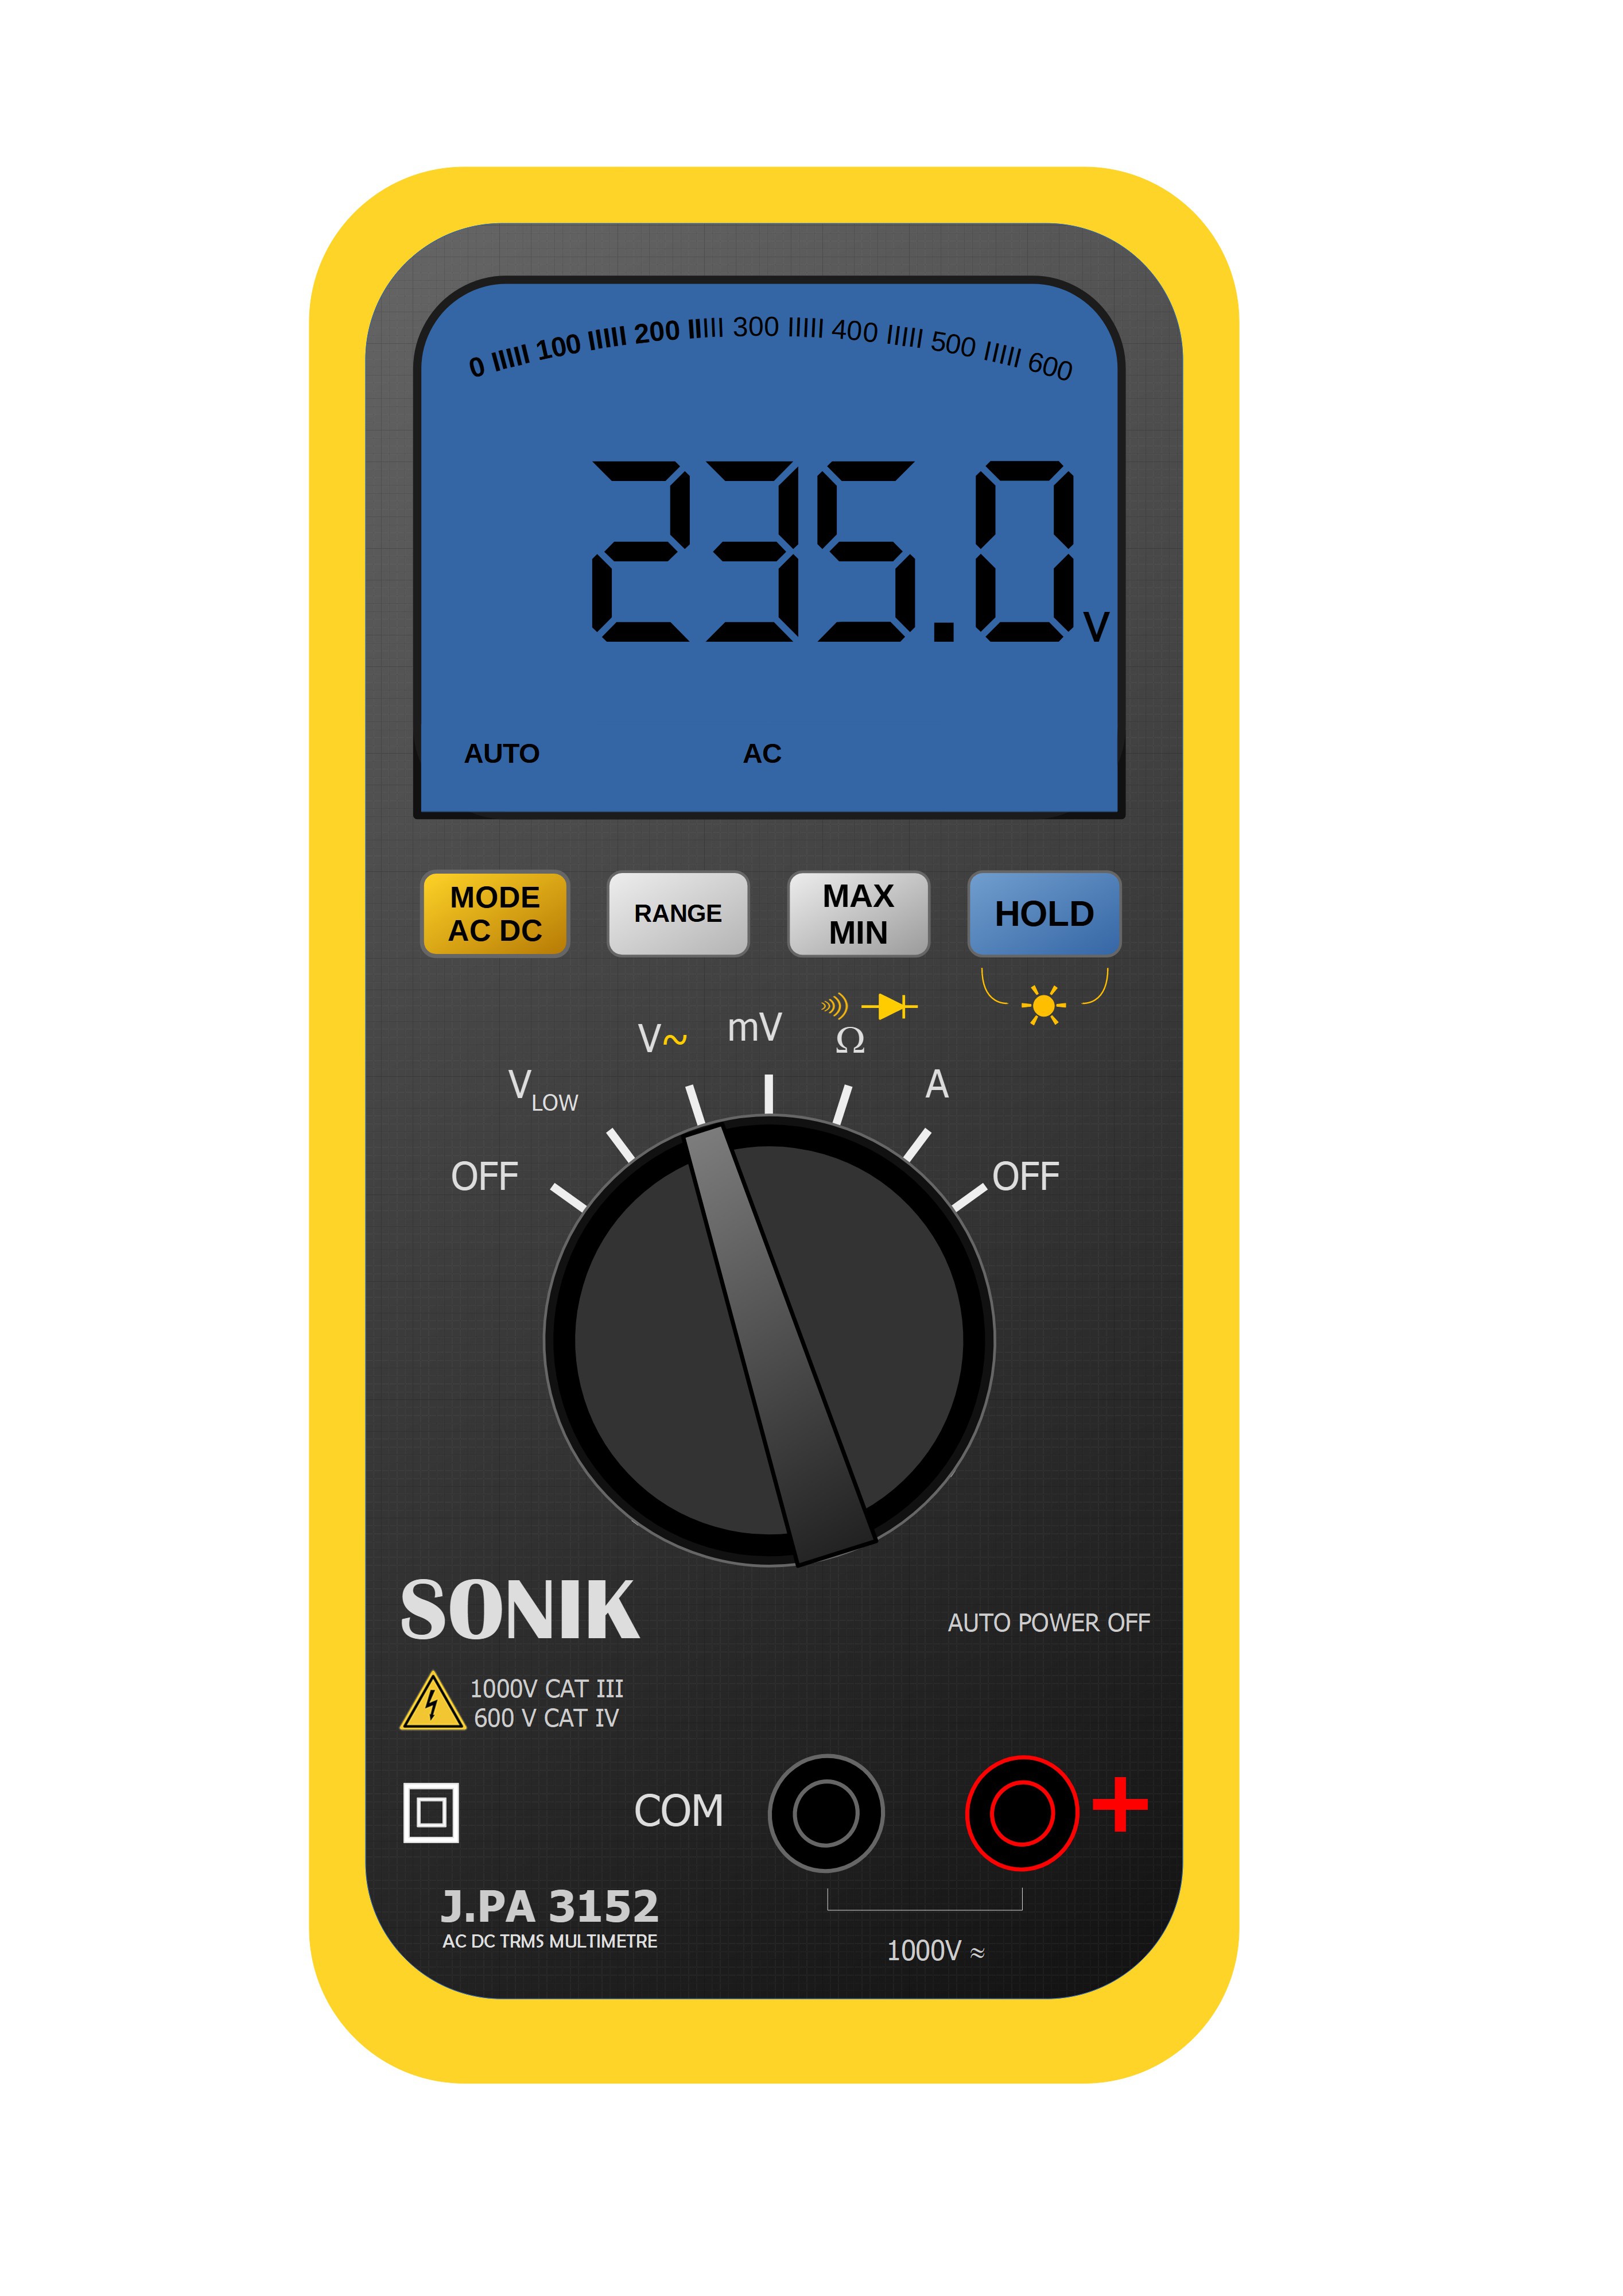
● Digtal Multimeter: It will allow you to measure voltage, resistance, and continuity.
● Insulated Screwdrivers: You will need both a flathead and a Phillips head screwdriver to remove panel covers and potentially disconnect wires. Make sure they are rated for electrical work.
● Safety Glasses: Always protect your eyes from potential sparks or debris.
● Insulated Gloves: If you are new to electrical work, gloves rated for electrical handling are highly recommended.
● Needle-Nose Pliers: Useful for manipulating wires if you need to disconnect them from the contactor terminals.
Sign of a Failing Contactor
Before you even pick up a multimeter, the magnetic contactor might be giving you clear signs that it’s in trouble.
● A Loud Humming or Buzzing Sound: While a very faint hum can be normal, a loud, noticeable buzz often means the internal coil is failing or the armature isn't seating properly, possibly due to dirt or debris.
● Visible Pitting or Burns: Look closely at the metal contact points. If you see black, charred marks or small craters (pitting), it’s a sign of arcing. This happens from switching high loads over time and means the contacts are worn out and can no longer make a clean connection.
● Melted Housing: If any part of the plastic housing looks melted or discolored, it's a serious red flag. This indicates extreme overheating, likely from a poor connection or a major electrical fault. The contactor should be replaced immediately.
● Chattering: This is when the contactor rapidly cycles on and off. It’s often caused by an unstable or low control voltage to the coil, preventing it from staying fully engaged.
● The Equipment Won't Start: If the control system is sending power to the coil but the motor or compressor doesn’t turn on, the contactor might have a broken coil or completely failed contacts.
● The Equipment Won't Stop: This is a dangerous situation. It usually means the contacts have become so hot they have physically welded themselves together. Even when the coil de-energizes, the contacts remain stuck, and power continues to flow.
Next, we use the multimeter to prove it. Electrical components must meet certain standards for safety and performance, as outlined by organizations like the NEMA. A contactor showing these signs of wear is likely no longer operating within these safe standards.
Using a Multimeter to Test an AC Contactor
We're going to walk through the testing process step-by-step. I'll break it down into a few simple tests you can perform.
Before you begin, you MUST turn off all power to the equipment at the main circuit breaker or disconnect switch. Electricity is dangerous and can cause serious injury or death. After turning off the breaker, use your multimeter to verify that there is ZERO voltage at the contactor's terminals. This is called "Lockout/Tagout" (LOTO), a standard safety procedure. Never work on a circuit you assume is off—always test it first.
Step 1: Visual Inspection (Again)
With the power confirmed off, take a close look at the contactor. Check again for any of the visual signs we discussed: burns, melted plastic, or debris. Sometimes, a good cleaning can solve a simple problem.
Step 2: Test the Coil's Resistance
This test tells you if the electromagnet inside the contactor is still good. A coil is essentially a long, thin wire, so it should have a specific electrical resistance.
1.Set Your Multimeter: Turn the dial on your multimeter to the resistance setting, marked with the Omega symbol (Ω). If your meter has multiple ranges, select a low one, like 200Ω or 2kΩ.
2.Disconnect Coil Wires: Carefully disconnect the two small wires from the coil terminals (A1 and A2). This ensures you're only testing the coil and not the rest of the control circuit.
3.Place the Probes: Touch one multimeter probe to the A1 terminal and the other probe to the A2 terminal. It doesn't matter which probe goes where.
4.Read the Results:
○ Good Coil: You should see a resistance reading, typically somewhere between 10 and 200 Ohms, depending on the contactor model. A specific, stable number is what you're looking for.
○ Bad Coil (Open): If your meter reads "OL" (Over Limit) or "I" (Infinity), it means the wire inside the coil is broken. The coil is dead, and the contactor needs to be replaced.
○ Bad Coil (Shorted): If the meter reads 0 Ohms or very close to it, the wire inside has shorted out. The coil is bad, and the contactor needs replacement.
Step 3: Test the Main Contacts for Continuity
This test checks if the high-power contacts are able to make a good, clean connection. We'll use the continuity function on the multimeter.
1.Set Your Multimeter: Turn the dial to the continuity setting. It's usually marked with a symbol that looks like a sound wave or a diode. When you touch the probes together, the meter should beep. This beep tells you there is a complete path for electricity.
2.Test While Open (De-Energized):
○ Place one probe on the top terminal of the first contact (labeled L1 for "Line 1") and the other probe on the corresponding bottom terminal (T1 for "Terminal 1").
○ You should hear NO BEEP. The meter should read "OL." This is correct, as the contacts are Normally Open.
○ Repeat this for the other sets of contacts (L2 to T2, L3 to T3 if it's a 3-pole contactor). You should get no beep on any of them. If you do get a beep, it means the contacts are welded shut.
3.Test While Closed (Manually Engaged):
○ Now, we need to simulate the coil being energized. Find the plastic plunger on the front of the contactor and gently but firmly press it all the way in with an insulated tool or your finger (remember, the power is OFF).
○ While holding the plunger in, repeat the continuity test from L1 to T1.
○ You should now hear a BEEP. The meter should read a very low resistance, close to 0 Ohms. This indicates a good connection.
○ Release the plunger and the beep should stop. Repeat this for the other contacts (L2 to T2, etc.).
If you press the plunger and the meter still reads "OL" or doesn't beep, it means the contacts are too pitted or corroded to make a connection. The contactor needs to be replaced. For more in-depth research on component reliability, you can explore academic databases like Google Scholar for studies on "contactor failure modes"
Common Problems and Solutions
Based on your tests, here’s a quick summary of common issues and what to do. The International Electrotechnical Commission (IEC) provides global standards like IEC 60947 for low-voltage switchgear, including contactors, which define their performance and testing criteria.
● Problem: Coil has OL or 0 Ohms resistance.
○ Cause: The coil is either broken or shorted.
○ Solution: Replace the entire contactor. Coils are not typically replaced on their own.
● Problem: Contacts show OL (no beep) when the plunger is pressed.
○ Cause: The contacts are severely pitted, burned, or misaligned.
○ Solution: Replace the contactor.
● Problem: Contacts beep when the plunger is NOT pressed.
○ Cause: The contacts have been welded together by an overcurrent or short circuit.
○ Solution: Replace the contactor immediately and investigate the cause of the overload in the motor or other connected equipment.
● Problem: Contactor buzzes loudly.
○ Cause: Could be debris, a low control voltage, or a failing coil.
○ Solution: Safely power down and clean the contactor. If the problem persists, perform the live voltage test on the coil. If the voltage is low, fix the control circuit. If the voltage is correct, the coil is failing and the contactor should be replaced.
Conclusion
To recap the key steps:
1.Safety First: Always disconnect and verify all power is off before you begin.
2.Visually Inspect: Look for obvious signs of damage like burns or melting.
3.Test the Coil: Use the resistance (Ohms) setting to check for a good connection.
4.Test the Contacts: Use the continuity (beep) setting to ensure they make a clean connection when closed.
Remember, while this guide empowers you to diagnose the issue, your safety is the top priority. If you ever feel unsure or uncomfortable working with electrical systems, do not hesitate to call a qualified and licensed electrician. It's always better to be safe than sorry.
Frequently Asked Questions (FAQ)
Q1:How to reset AC contactor?
To reset an AC contactor, turn off power to the unit at the breaker, wait a few minutes, then restore power to see if the contactor resets.
Q2:What is the lifespan of a contactor?
A contactor typically lasts between 5 to 10 years, depending on usage and environmental conditions.
Q3:Will a bad contactor cause the compressor not to work?
Yes, a faulty contactor can prevent the compressor from receiving power, causing it not to work.
Post time: Jun-17-2025